How to Merge MP4 Files: The Ultimate Creator's Guide for 2026
Other

Got a folder full of separate video clips you need to join into one seamless video? It’s a common hurdle for creators, but thankfully, you have plenty of options. For a quick and simple job, free desktop software like QuickTime on Mac or Clipchamp on Windows gets it done. For professional, pixel-perfect quality, a command-line tool like FFmpeg is your best bet. And for pure convenience, online mergers offer a fast, no-install solution.
The right tool really just comes down to your primary goal: are you prioritizing lossless quality, raw speed, or straightforward ease of use?
Why Merging MP4s Is a Smarter Workflow
Stitching multiple video clips into a single, cohesive file is a foundational skill for any modern creator or marketer. It’s how you transform a folder of scattered footage—from a podcast recording, a webinar, or a marketing event—into a polished final video. But this isn't just about tidying up your files; it’s a strategic move that can save you hours and unlock new content opportunities. A single, unified video file is 90% easier to manage, archive, and feed into other tools.
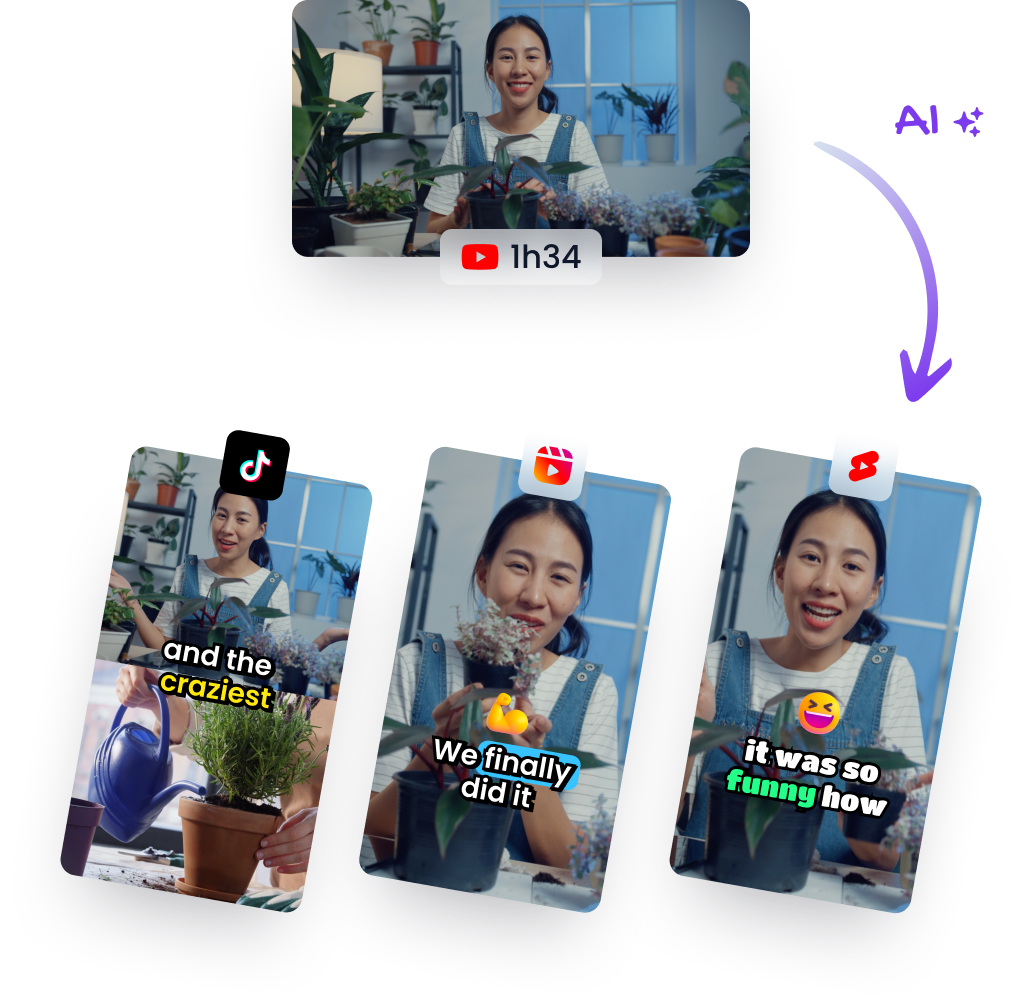
Once you have that master file, it becomes the perfect source material for creating bite-sized social media clips. We break down exactly how to create YouTube Shorts from existing video in our other guide, which starts with having one solid video to work from.
Choosing Your Merging Method
You're not short on options, from powerful command-line tools to dead-simple online services. The trick is to match the tool to your specific goal. Are you trying to preserve every last pixel of quality for a high-stakes project, or just get it done fast for a quick social post?
To make it easier, here’s a quick decision tree to guide you.
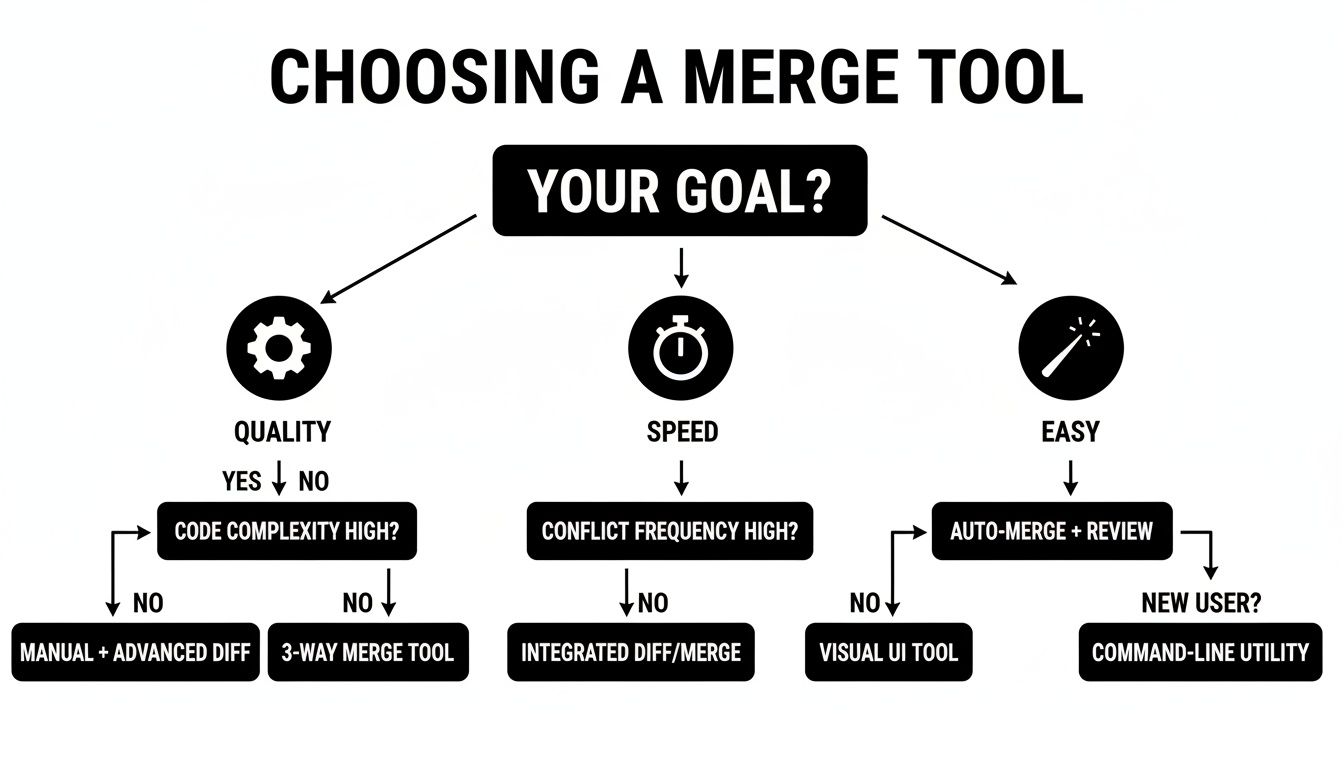
As the chart shows, if quality is non-negotiable, a technical tool like FFmpeg is the way to go. If speed is your main concern, online tools are fantastic. And for pure ease of use, you can’t beat the native apps already on your desktop.
Here’s a quick table to break it down even further.
Choosing Your MP4 Merging Method
This table offers an at-a-glance comparison to help you decide which tool best fits your needs for merging MP4 files.
MethodBest ForTechnical SkillKey Advantage
FFmpeg
Lossless quality & automation
High
Total control over codecs and quality; perfect for pros.
VLC
Quick merges of similar files
Low
A versatile tool most people already have installed.
Desktop Apps
Simple, one-off tasks
Low
No extra downloads needed; very intuitive for beginners.
Online Tools
Convenience & small files
Very Low
Fast and accessible from any device, ideal for quick jobs.
Ultimately, knowing how to merge MP4 files isn't about mastering one specific program. It's about knowing which tool to grab for the job at hand so you can get to the next step—repurposing your video into short, engaging clips with a platform like Klap.
Actionable Insight: The biggest win comes when you stop seeing video merging as a chore and start seeing it as the first step in your content repurposing engine. One merged file is infinitely easier to manage, archive, and feed into AI tools, saving you time down the line.
This mindset shift turns your random collection of clips into a valuable content library, ready to be spun into gold for all your channels.
Lossless Merging with FFmpeg for Professionals

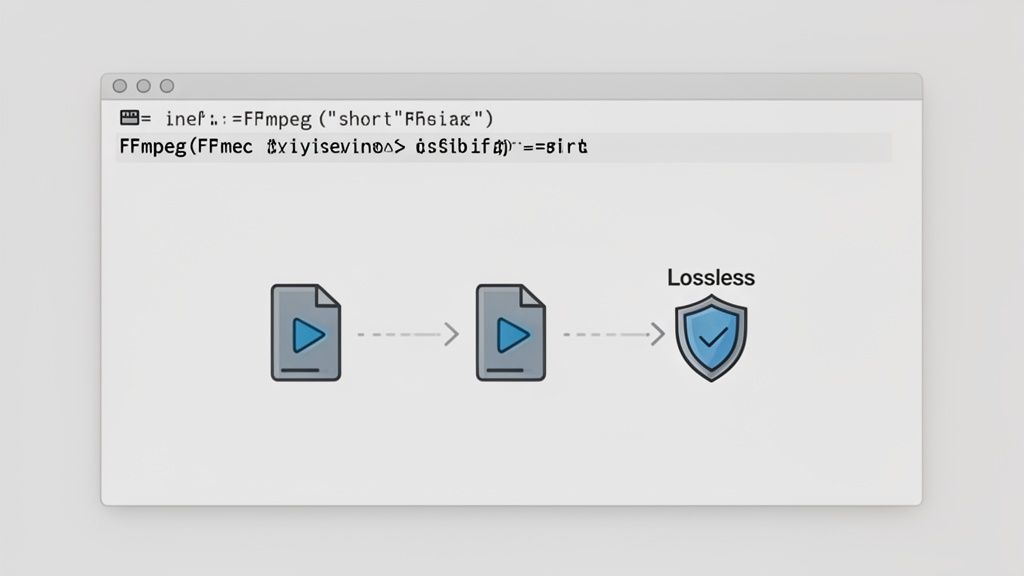
For creators who refuse to compromise on quality, FFmpeg is the industry standard for merging video. While most editors re-encode your files—leading to a subtle but measurable drop in quality with each export—FFmpeg enables a completely lossless merge.
This means zero quality degradation. What you put in is exactly what you get out, preserving the original data byte for byte.
The catch? FFmpeg runs from the command line, which can look intimidating if you're not used to it. Don't let the terminal scare you; the power it gives you is well worth the small learning curve, especially when you need a perfect source file for AI repurposing tools like Klap.
The Fast Lane with Concat Demuxer
When all your MP4 clips are identical—same codec, resolution, and frame rate—you can use FFmpeg’s fastest method: the concat demuxer. This process is like a digital copy-paste; it lifts the video and audio streams from your source files and places them into a new container without any re-encoding.
It's ridiculously fast. A merge that might take several minutes in a video editor is often over in seconds. The process involves two simple steps.
First, create a plain text file (let's call it mylist.txt) that lists every clip you want to join, in the exact order they should appear.
file 'clip1.mp4'
file 'clip2.mp4'
file 'clip3.mp4'
Next, with your list ready, run this single command in your terminal. This command points FFmpeg to your list and tells it to combine the files without re-encoding the underlying video data.
ffmpeg -f concat -safe 0 -i mylist.txt -c copy output.mp4
This is the perfect workflow for combining clips from a single recording session, like stitching together multiple camera angles (of the same spec) or different segments of a long presentation. The final merged file will be a flawless copy of the originals.
Handling Mismatched Files with Concat Filter
But what happens when your clips don't match? It's a common problem. You might need to merge a 1080p clip from your main camera with a 720p screen recording. This is where the concat filter comes into play.
This method does re-encode the videos, a necessary step to make them compatible. It standardizes the resolution, frame rate, and pixel format across all clips, which prevents playback errors or audio sync drift.
Actionable Insight: You're essentially creating a universal standard for all your clips. The filter scales each video and conforms the audio streams, ensuring a smooth, unified final product even if your sources are wildly different. This is crucial for avoiding visual glitches or audio drift in your final output.
The command for the concat filter is a bit more involved, as it references each input file directly. To merge two files, it would look like this:
ffmpeg -i clip1.mp4 -i clip2.mp4 -filter_complex "[0:v][0:a][1:v][1:a]concat=n=2:v=1:a=1[v][a]" -map "[v]" -map "[a]" output.mp4
This command takes clip1.mp4 and clip2.mp4 and merges them into a single video and audio stream. It’s the go-to solution for more complex projects where your source files vary, delivering professional results every time. Learning to merge MP4 files this way is a skill that pays off in both quality and flexibility.
Merge MP4s for Free on Windows and Mac
 You don't need to invest in expensive video editing software just to combine a few clips. In fact, your computer likely already has free, easy-to-use tools that can merge MP4s in minutes.
This approach is all about getting the job done quickly and efficiently. For social media managers and podcasters, being able to quickly drag, drop, and export a finished video is a lifesaver. It means you can assemble your content and get it ready for repurposing without a major technical headache.
Combining Videos on Windows
If you're on a Windows machine, you have a couple of great free options. The native Photos app includes a surprisingly capable video editor that's perfect for simple merge jobs.
For something with a bit more muscle, Microsoft Clipchamp now comes bundled with Windows 11 and is a free download for Windows 10. It provides a timeline-based editor that feels closer to a professional tool but remains incredibly simple to use.
- Microsoft Photos Video Editor: Just open the app, start a new video project, and drag your MP4 files into the storyboard. From there, you can reorder them, trim out what you don't need, and export the combined file. It's ideal for projects that take less than 15 minutes.
- Microsoft Clipchamp: This is a solid step up. You can import your media, arrange clips on a multi-track timeline, and even add transitions. The "gap removal" feature is a nice touch, ensuring you don't end up with awkward black frames between your clips.
The demand for simple editing tools is clear. Video editing software downloads surged by 45% globally in 2025, driven largely by creators needing to merge and trim clips for social content. For instance, a tool like Filmora lets users load multiple MP4s at once, a feature shown to cut workflow time by up to 70% for marketers who spend over 20 hours a week on video. You can read more about the impact of these merging features on Filmora .
Merging MP4s on a Mac
Mac users are in a great position, with powerful software already installed and ready to go. Both QuickTime Player and the Photos app are fantastic for stitching clips together without any extra downloads.
Actionable Insight: When you're using QuickTime, open your first clip, then drag the others directly onto the timeline window. A yellow outline will pop up, letting you place the new clip exactly where you want it before saving. This drag-and-drop method is one of the fastest ways to assemble clips on a Mac.
This technique is perfect for quickly assembling a few short clips for an Instagram Reel or combining different takes for a YouTube Short.
- QuickTime Player: Open your first MP4. Then, just drag your other MP4 files from Finder and drop them into the QuickTime window. You’ll get a filmstrip view where you can rearrange the clips before saving out the new, merged file.
- Photos App: Similar to the Windows version, you can select multiple video clips in your Photos library, create a new movie project, and arrange them on a simple storyboard. It’s incredibly fast for projects that don’t require complex editing.
Using Online Tools to Combine MP4 Files Instantly
When you need to stitch a few clips together fast and can't be bothered with installing software, an online video merger is your best friend. These browser-based tools are perfect for quick jobs, letting you upload, combine, and download a finished video in minutes.
The process is refreshingly simple: upload your clips, drag them into the correct order on a visual timeline, and hit the download button. It's an incredibly straightforward way to merge MP4 files from any device.
This is a lifesaver for social media managers piecing together user-generated content or marketers combining client testimonials for a quick campaign video. The real selling point here is speed and accessibility.
Choosing a Trustworthy Online Merger
While convenience is a huge win, it often comes with a few trade-offs. The three biggest factors to consider with any online video tool are privacy, watermarks, and file size limits.
Before uploading sensitive content, always review the privacy policy to understand how your files are stored and for how long. Many free tools will also place a watermark on your final video, so confirm if that's the case. Finally, check the limits—most free services cap the file size or total video length you can work with.
Here’s what to look for in a solid online merger:
- Clear Privacy Terms: The service should explicitly state that it deletes your files from its servers after a short period (e.g., 24 hours).
- Transparent Watermarking Policy: You should know upfront whether your final video will have a watermark. No surprises.
- Generous File Limits: Look for a tool that allows reasonably large file uploads (e.g., over 500MB) without immediately forcing you to upgrade.
A popular and reliable choice is Adobe Express , which offers a powerful and free online MP4 merger. It processed over 500 million video clips in 2025 and lets you trim and combine videos up to 1GB or 1 hour each. It's no surprise that 82% of small brands use it for quick edits, reporting that it can reduce simple editing time by as much as 50%.
The Ideal Workflow for Online Merging
Once you’ve found a tool you trust, the workflow is a breeze. Most platforms use a simple drag-and-drop interface, making it easy to reorder your clips until they’re just right. Some, like Microsoft Clipchamp, even include features that automatically remove gaps between your clips to ensure a seamless final video.
Actionable Insight: The true power of online mergers is their accessibility. You can combine video files from any computer with an internet connection, making team collaboration much simpler. There’s no need to worry about software compatibility or licenses, which is a huge bottleneck for distributed teams.
After merging your clips, the next logical step is to prepare them for social media. Many creators use these tools as a starting point before creating shorter, more focused content. If you're looking for an intelligent way to turn your newly merged video into dozens of social-ready shorts, check out our powerful AI video clip maker .
Automate Merging with Custom Batch Scripts
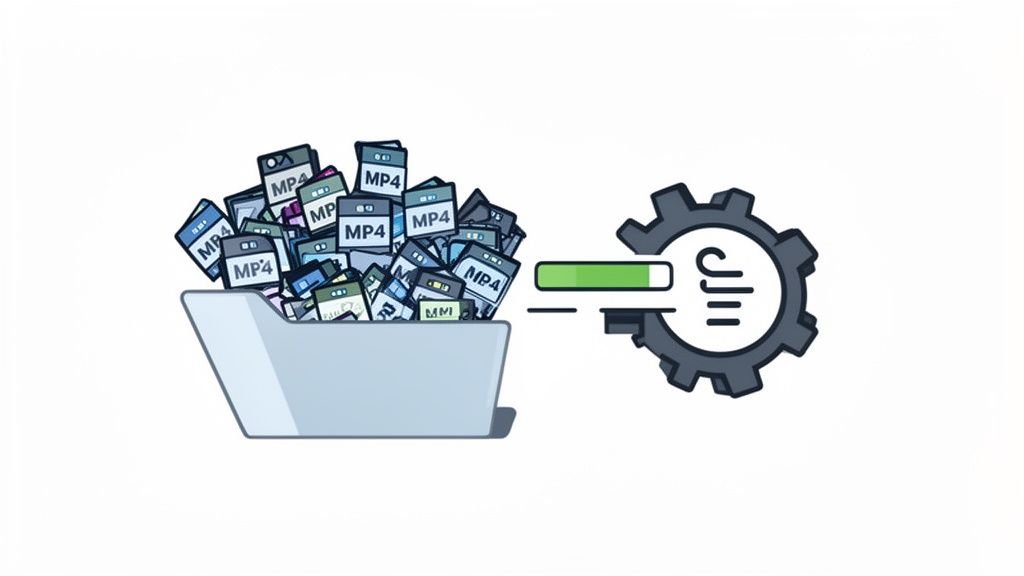
If you're a content agency or a creator producing at scale, merging video files one by one is a massive time-suck. Dragging, dropping, and exporting clips in a graphical editor just doesn't scale when you're dealing with high volume. This is where a little automation goes a long way, turning hours of tedious clicking into a task that runs in seconds.
With a simple script powered by FFmpeg, you can automatically find and stitch together all the MP4 files in a folder. Think of it as the ultimate workflow hack for compiling B-roll, assembling a daily vlog, or processing a huge batch of client footage. You set it up once, and your computer does the heavy lifting.
Create a Windows Batch Script
For Windows users, a simple Batch file (.bat) is all you need to automate the entire process. The script performs two actions: first, it creates a mylist.txt file that lists every MP4 in the folder. Then, it hands that list over to FFmpeg to perform a lossless merge using the concat demuxer.
The best part? It's incredibly straightforward. All you need is a text file with a few lines of code.
Here’s the actionable breakdown:
- Open Notepad and paste the code below.
- Save the file as
merge-all.batin the same folder as your MP4 files. - Ensure you have FFmpeg installed and added to your system's PATH.
- Just double-click the
merge-all.batfile to run it.
@echo off
(for %%i in (*.mp4) do @echo file '%%i') > mylist.txt
ffmpeg -f concat -safe 0 -i mylist.txt -c copy "merged_output.mp4"
del mylist.txt
echo "Merging complete! Your file is named merged_output.mp4"
pause
The script will generate a final video named merged_output.mp4. It's shockingly efficient and often finishes in under a minute, even with dozens of files. That's a huge time-saver, considering some marketing teams report that manual editing tasks consume nearly 70% of their video workflow.
Build a Shell Script for macOS and Linux
For those on macOS or Linux, a Shell script (.sh) delivers the same lightning-fast automation. The logic is identical to the Windows version: it generates a text file listing your videos and then tells FFmpeg to combine them without any quality loss. It’s a favorite trick for developers and power users who live in the terminal.
Actionable Insight: This scripting approach embodies the "work smarter, not harder" principle. A script that takes two minutes to write can easily save you hundreds of hours over a year, freeing you up to focus on creative strategy instead of mind-numbing file management.
Follow these quick steps to create your script:
- Open any text editor (like TextEdit or VS Code) and paste in the code below.
- Save it as
merge-all.shinside your video folder. - Open your terminal, navigate to that folder, and make the script executable by running
chmod +x merge-all.sh. - Run the script by typing
./merge-all.shand hitting Enter.
#!/bin/bash
rm mylist.txt || true
for f in *.mp4; do echo "file '$f'" >> mylist.txt; done
ffmpeg -f concat -safe 0 -i mylist.txt -c copy merged_output.mp4
rm mylist.txt
echo "Merging complete!"
Automating small, repetitive jobs like this is the key to scaling your production. You can even take these scripts a step further by connecting them to other tools. For truly advanced workflows, developers often use APIs to build a fully automated content pipeline. To see how this works, you can learn more about how to integrate with a REST API and connect your entire workflow.
Common MP4 Merging Questions Answered
Once you start merging MP4 files, a few common frustrations tend to pop up. Getting ahead of these questions will save you a ton of headaches and help you achieve the best possible quality in your final video.
Will Merging MP4 Files Reduce Video Quality?
It depends entirely on your method. If you use a lossless approach like FFmpeg's concat demuxer, there is zero quality loss. This technique, also called stream copying, simply remuxes the video and audio data into a new container without re-encoding it. It's the cleanest and fastest way to merge identical files.
However, most free editors and online tools will re-encode your files during the merge. This compression can introduce a slight, often unnoticeable, drop in quality. To mitigate this, always start with high-quality source files, as compression artifacts compound with every re-export.
Can I Merge MP4 Files With Different Properties?
Absolutely, but this is a scenario where you must re-encode. You can't just stick a 4K, 60fps clip next to a 1080p, 24fps clip and expect seamless playback without some processing.
Actionable Insight: This is exactly what FFmpeg's
concat filterwas designed for. It takes all your different clips and standardizes them to a single resolution, frame rate, and pixel format. This is crucial for avoiding visual glitches, black frames, or stuttering playback in the final video.
Simpler tools like Clipchamp or Adobe Express often perform this standardization automatically in the background. The tradeoff is you lose fine-grained control over the final output settings, which a more technical tool gives you.
Why Do I Have Audio Sync Issues After Merging?
Ah, the dreaded audio drift. This is arguably the most common headache when merging files, especially if your clips come from different cameras or recording devices. It almost always happens because your source files have mismatched audio or video properties.
The usual culprits are:
- Different audio sample rates (e.g., one clip at 44.1 kHz and another at 48 kHz—the professional standard).
- Variable frame rates (VFR) from screen recordings or phones, instead of a constant frame rate (CFR) from professional cameras.
- Mismatched audio codecs between the files.
The most reliable solution is to use a professional tool like FFmpeg that lets you specify the audio settings during the merge, forcing all streams to conform to one standard (e.g., 48 kHz AAC). If you're using a basic editor, try to convert your clips to have the same properties before you combine them. This extra step can dramatically reduce the risk of your audio going out of sync.
Once your long-form video is perfectly merged, the next step is turning it into engaging social media content. Klap uses AI to find the most viral-worthy moments in your video and automatically generates ready-to-post short clips. Turn your videos into viral shorts with Klap .