AI Color Grading: A Fast Guide for Social Video
Other
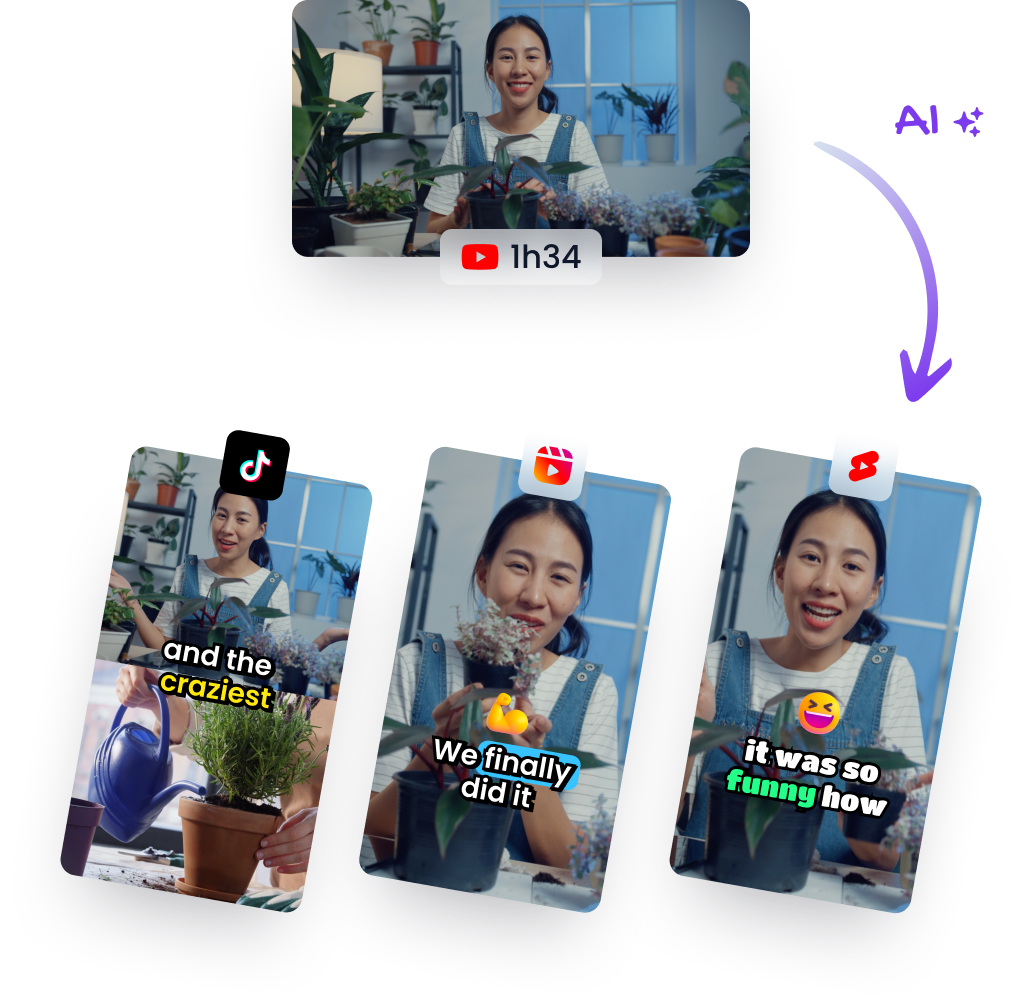
You trimmed a long interview, webinar, or podcast into a stack of short clips. The hooks are solid. The captions are in. The framing works. Then you export and notice the problem almost every creator hits at this stage.
One clip looks slightly cold. Another is darker because the speaker leaned away from the key light. A third makes skin look too orange after the crop and auto-enhancement. None of these issues ruins a clip on its own, but together they make the batch feel messy.
That's where ai color grading earns its keep. Not as a flashy “cinematic” trick, but as a practical way to make a pile of repurposed clips look like they belong to the same brand, the same recording session, and the same level of polish.
Why Your Repurposed Clips Look Inconsistent
Repurposing creates a weird editing problem. Your source video was one continuous recording, but your short clips stop behaving like one project once you cut them apart.
A podcast segment might start under balanced lighting, then drift warmer when daylight changes. A webinar clip may include slides that brighten the whole frame, then cut back to a face cam that suddenly looks underexposed. Once those moments become separate shorts, the differences feel bigger.
That's why creators often finish clipping before they realize they've created a color-matching job across 15, 20, or more exports. If you're already building a workflow around content repurposing for social platforms , this is the visual step that decides whether the batch feels polished or rushed.
Small differences look bigger on a feed
On a timeline, minor color shifts can hide in context. In a social feed, each clip stands alone. Viewers don't compare your grade to the previous minute of the original video. They compare it to everything else in their feed.
That's why these common issues matter so much:
- Exposure drift: one clip feels clean, the next feels dull or murky.
- White balance shifts: skin moves from natural to pink, yellow, or green.
- Mixed source moments: screen shares, B-roll, webcam angles, and phone footage don't match.
- Inconsistent contrast: some clips pop, others look flat and low energy.
Practical rule: If viewers notice color inconsistency before they notice your point, the edit still needs work.
Manual grading breaks down at volume
You can fix every clip by hand. Most editors have done it. The problem is that it doesn't scale well when your output model depends on volume.
If you're publishing daily shorts from long-form content, manual correction becomes repetitive fast. You're not designing a different visual identity for each clip. You're trying to get all of them to a clean, reliable baseline.
That's the useful way to think about ai color grading. It handles the repetitive correction work that creators usually postpone, rush, or skip. For social clips, that's often the difference between “good enough” and consistently professional.
What AI Color Grading Does and When to Use It
Most confusion around ai color grading comes from mixing up two different jobs. One is technical. The other is creative.
Compare it to painting a wall. First you prep the surface. Then you choose the color. If you skip the prep, even expensive paint looks bad.
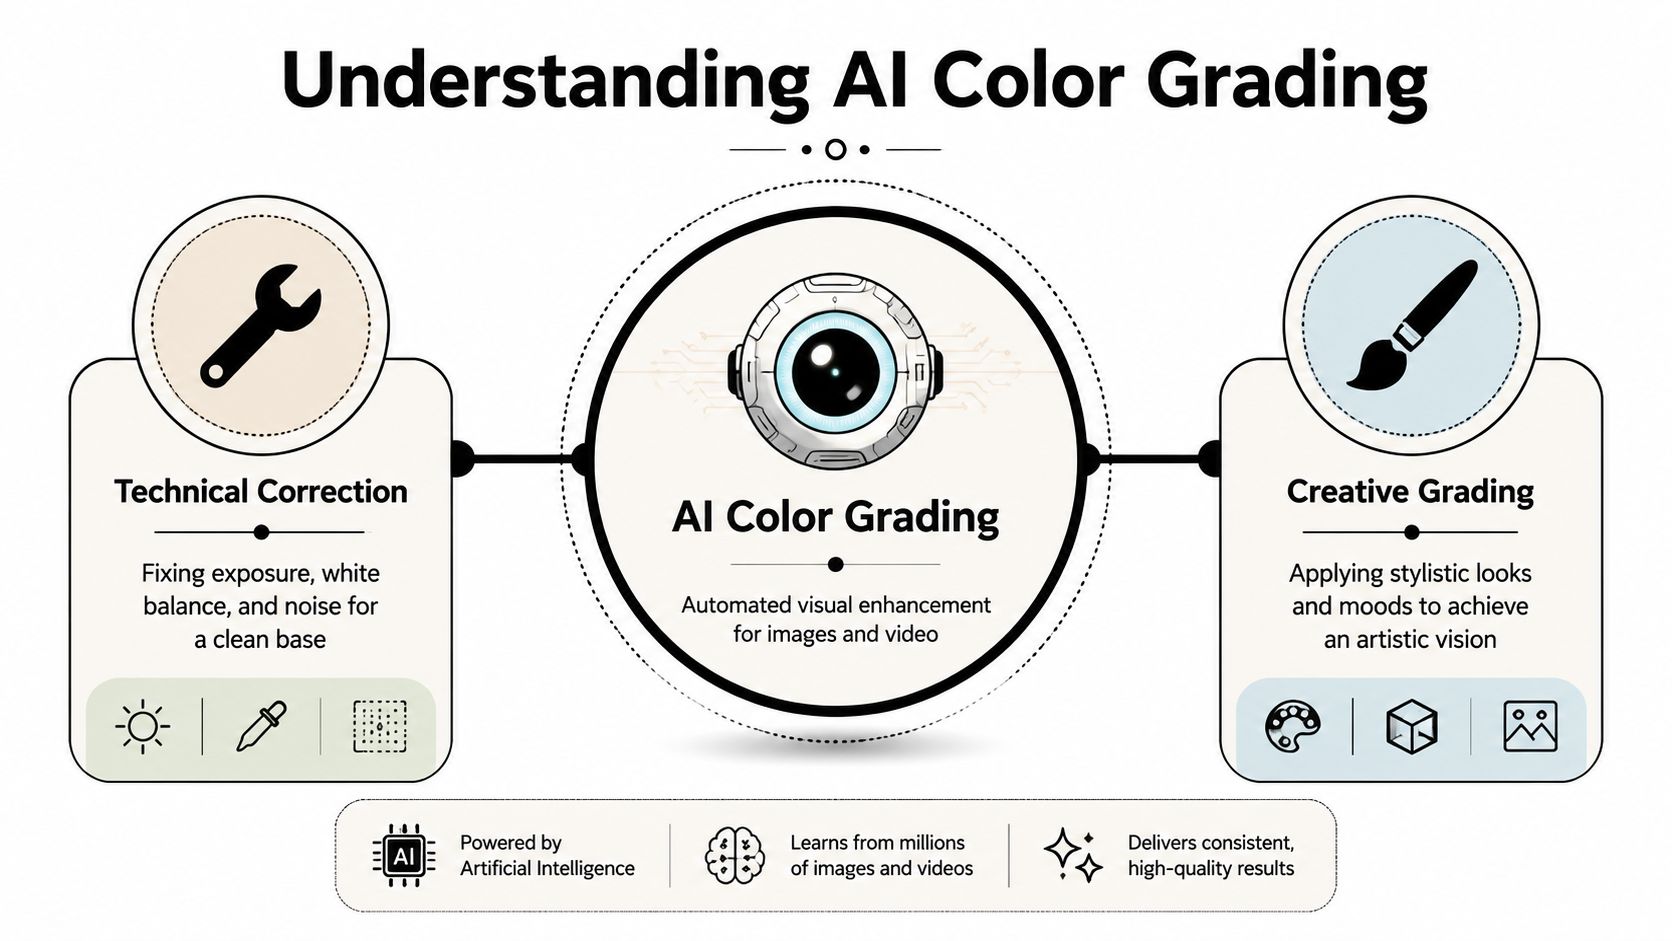
Technical correction comes first
The strongest use case for ai in short-form workflows is technical correction. That means:
- Balancing hue and white balance so skin and neutrals stop drifting
- Adjusting saturation so clips don't swing between washed-out and oversaturated
- Normalizing contrast so a batch feels coherent
- Matching looks between shots when footage comes from different cameras or conditions
A 2025 industry analysis says ai color grading can reduce turnaround time by up to 80% by automating tasks like hue balancing, saturation adjustment, and contrast normalization. The same analysis projects the AI in filmmaking market will reach USD 23.54 billion by 2033, expanding at a 25.4% CAGR from 2025 to 2033. Those figures point to how quickly AI-assisted finishing tools are moving into real workflows, not just demos ( Prodia's comparative analysis of AI color grading and human colorists ).
For creators, the time-saving part matters more than the market projection. If you have a backlog of shorts to clean up, technical correction is where AI gives you an advantage.
Creative grading is the second job
After correction, ai can also help with creative grading. That's the stylistic layer. Warmer tones, cooler shadows, brighter skin, a film-inspired palette, or a branded look that carries across a campaign.
Modern systems can also analyze a reference image or prompt and generate a standard .cube LUT that works in major editors. That's a meaningful step forward for creators who want repeatable looks without building everything from scratch. But it's still smarter to treat this as a finishing layer, not a rescue tool.
AI is good at getting clips into the same neighborhood. Human review still decides whether the look actually fits the content.
Use AI grading when the job is consistency
Ai color grading works best when you need one of these outcomes:
NeedAI is useful whenManual work still matters
Batch consistency
A long video became many clips with slight variations
Final spot checks on faces and branded colors
Mixed camera cleanup
Webcam, phone, and screen-based clips need a common baseline
Matching tricky shots with unusual lighting
Fast turnaround
You need social-ready exports without grading every shot from zero
Hero clips that need extra polish
Style rollout
You want one repeatable look across a campaign
Deciding how strong that look should be
Use it early in the polishing stage, after the clips are selected and trimmed but before you lock final exports. That gives you enough structure to batch-process intelligently, without wasting time grading clips you might cut later.
A Practical Workflow for AI Grading Social Clips
The workflow matters more than the tool. Most bad results happen because creators apply a look too early, too hard, or to footage that hasn't been normalized first.
The clean approach is simple. Build a neutral base. Then decide whether the clip needs style.
Stage one builds a neutral baseline
Independent workflow guidance around AI grading consistently points to the same sequence: first normalize exposure, white balance, and contrast, then apply creative grading or LUTs. Applying a creative look before correction can amplify flaws already in the footage ( Opus guide to AI color grading tools and workflow ).
For repurposed social clips, that baseline pass usually looks like this:
- Group clips by source Start with clips from the same recording, camera, and lighting setup. Don't batch webcam footage with phone B-roll unless you have to.
- Pick one reference clip Choose a clip where the subject's face looks representative. Neutral expression, stable lighting, no bright slide filling half the frame.
- Run AI correction first Let the system handle exposure balancing, white balance cleanup, and contrast normalization before you touch style.
- Check the sequence, not just one frame Talking-head clips can shift as someone leans, gestures, or turns toward a monitor. Scrub through.
The fastest way to ruin a batch is to approve the grade on a still frame and ignore what happens three seconds later.
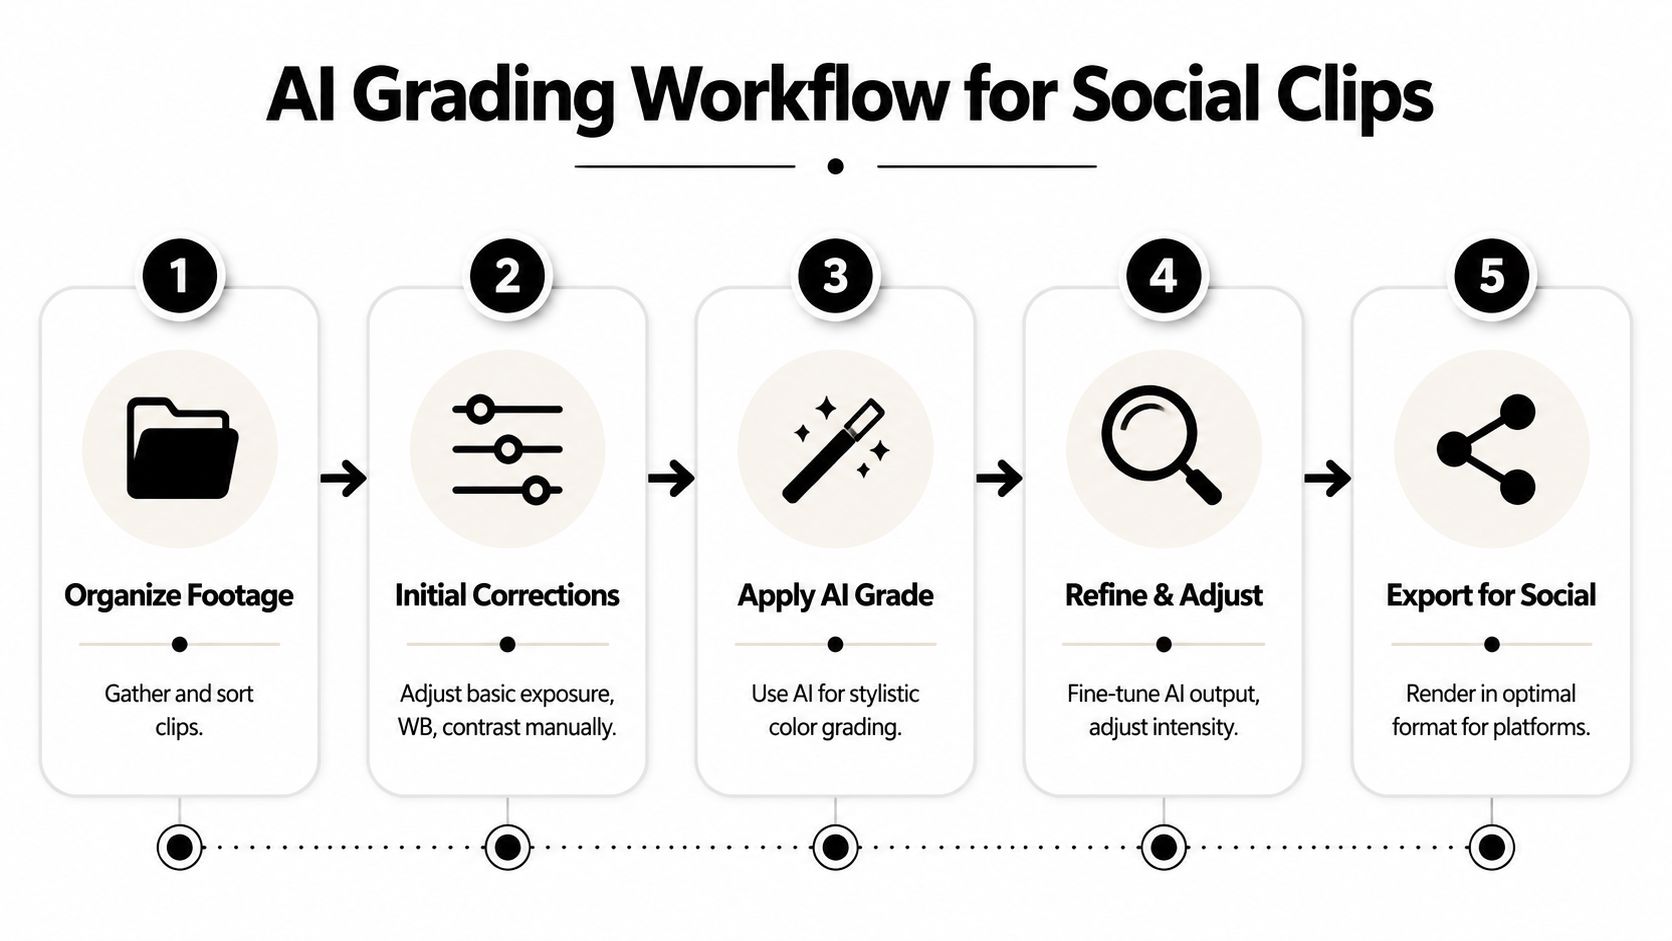
Here's a useful visual walkthrough of the overall process before you refine it for your own editor:
Stage two adds style carefully
Once the base looks clean, then you can apply a look. Sometimes that means a LUT. Sometimes it means a mild preset. Sometimes it means doing almost nothing because the corrected footage already looks right for social.
A few practical rules help here:
- Keep intensity low at first: strong looks often break skin before they improve mood.
- Prioritize faces over background drama: if the speaker looks wrong, the grade is wrong.
- Match for the batch, not the single clip: your clips should feel related, not individually “cool.”
- Skip heavy treatment on compressed source: low-quality footage falls apart quickly under aggressive grading.
A repeatable editor-agnostic setup
This works whether you grade in DaVinci Resolve, Premiere Pro, Final Cut Pro, or a standalone AI tool:
- Folder pass: organize clips by recording session
- Correction pass: normalize all clips from that session
- Reference pass: compare the strongest clip against the weakest
- Creative pass: apply one mild branded look if needed
- Review pass: inspect exports on desktop and phone
That order is what saves time. Not the promise of one-click perfection.
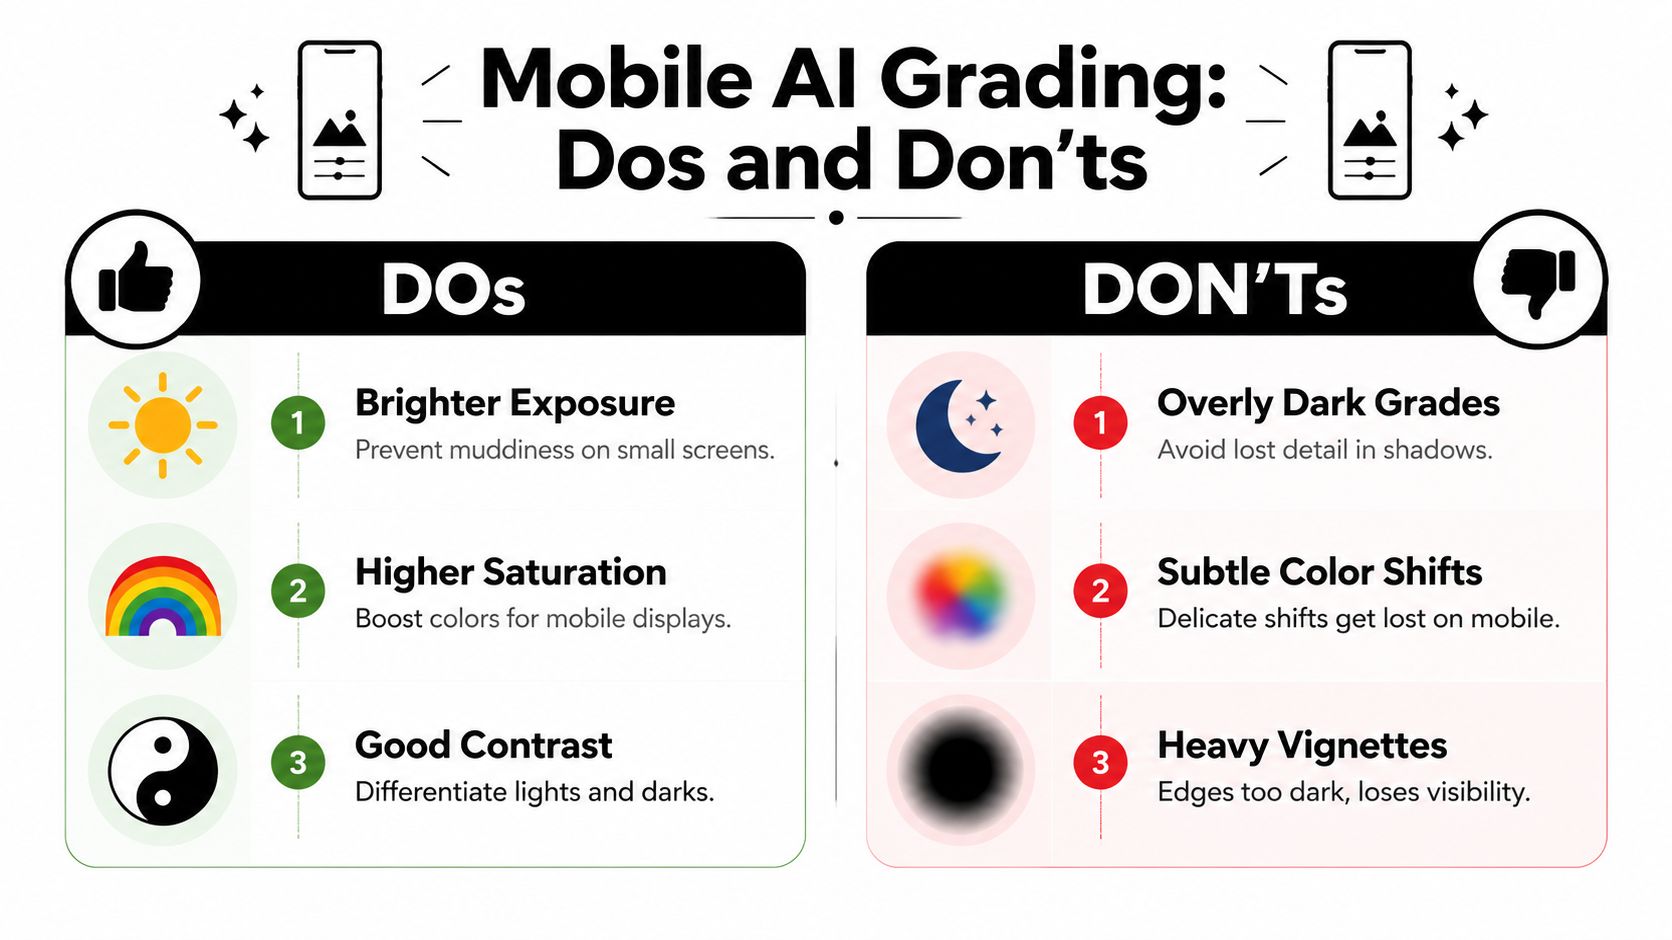
Best AI Grading Settings for Mobile Video
The biggest mistake in short-form color work is grading for a desktop monitor instead of a phone. A look that feels dramatic on a large screen often turns muddy once it hits TikTok, Reels, or Shorts.
For mobile, clarity usually beats mood. That doesn't mean your clips need to look flat. It means the grade has to survive small screens, bright rooms, fast scrolling, and captions sitting on top of the image.
What mobile viewers actually need
Current coverage often focuses on aesthetic presets, but mobile-ready grading has different constraints. Guidance around short-form repurposing highlights that effective grading needs to preserve skin tones and caption readability, while avoiding aggressive cinematic treatments that crush shadows or reduce facial clarity on small screens ( discussion of AI grading for short-form platforms ).
That lines up with what most editors see in practice. If your speaker's eyes disappear into shadow or your subtitles sit over a dark, high-contrast background, the clip loses impact immediately.
Settings and tendencies that usually work better
Instead of chasing a “film look,” aim for a feed-friendly grade:
- Lift dark areas slightly: not enough to wash out the image, just enough to keep facial detail visible.
- Keep skin tones natural: if the subject looks bronze, pink, or gray, pull back.
- Use contrast with restraint: strong contrast can look sharp on desktop and harsh on mobile.
- Protect text areas: leave enough tonal separation behind captions so they stay readable.
- Watch brand colors: product packaging, logo accents, and set design should still look like your brand.
If you're also deciding exports, aspect ratio, and platform delivery, it helps to pair grading choices with the right Instagram video file format guidance so your final render doesn't undo the visual work.
For social clips, “clear and slightly polished” usually outperforms “dark and cinematic.”
A quick mobile check before export
Use this table as a final pass:
CheckGood signWarning sign
Face visibility
Eyes, skin, and expression read instantly
Forehead clipped or jawline lost in shadow
Caption contrast
Text stays legible over movement
Captions disappear over dark clothing or backgrounds
Background separation
Subject stands out without haloing
Over-sharpened edges or artificial pop
Color strength
Image feels lively
Reds and oranges overpower skin
One more habit helps a lot. Watch the clip on your phone at normal brightness, then again in a bright room. If the message survives both, the grade is doing its job.
Integrating AI Tools with Your Klap Workflow
Once your short clips exist, color becomes a batch problem. You're no longer grading one polished hero edit. You're trying to keep a whole set coherent while moving fast enough to publish.
That's where the current generation of AI tools is useful. Some live inside editors like DaVinci Resolve, Premiere Pro, or Final Cut Pro. Others run as standalone grading platforms or plugins. The useful question isn't which category is “better.” It's which one adds the least friction to your clip pipeline.
A clean batch workflow after clip generation
For repurposed content, the efficient move is usually this:
- Export your selected clips
- Choose one strong reference clip from the batch
- Build or generate a look from that reference
- Apply the same correction profile or LUT across sibling clips
- Review outliers manually
That matters because modern AI systems can analyze a prompt or reference image and generate a standard .cube LUT compatible with major editing software. It's an important milestone for creators because it turns style into something portable and repeatable across many clips, even if higher-end finishing still depends on human judgment (
industry discussion on AI LUT generation and creator adoption
).
Where this fits with your editing stack
A practical setup might look like this:
StageTool type that fitsWhy it helps
Clip extraction
Repurposing platform
Finds usable moments and formats them vertically
Batch correction
AI grading app or plugin
Normalizes color across many clips
Final polish
NLE like Premiere Pro, Resolve, or Final Cut Pro
Handles spot fixes and export control
If you're comparing software stacks broadly, this roundup of AI video editing software options is useful because color grading only works well when it fits the rest of the pipeline.
You can also borrow inspiration from adjacent creative workflows. For example, teams experimenting with visual style references for promos or campaign assets may find unique AI video gifts interesting because the same prompt-to-style thinking shows up in LUT generation and look development.
One mention that matters in this workflow
In a workflow built around turning long-form material into vertical clips, Klap handles the clip generation, reframing, captions, and export prep. That means color work can sit after clip selection instead of before it, which is usually the more efficient order for high-volume social production.
The key is to avoid re-grading every asset individually. Build one baseline for the batch, then correct only the outliers.
Troubleshooting Common AI Grading Mistakes
Most AI grading mistakes aren't random. They come from giving the system bad input, the wrong reference, or too much stylistic freedom.
When a result looks fake, the fix is usually simple. Reduce the strength, inspect the reference, and go back to technical correction before touching style.
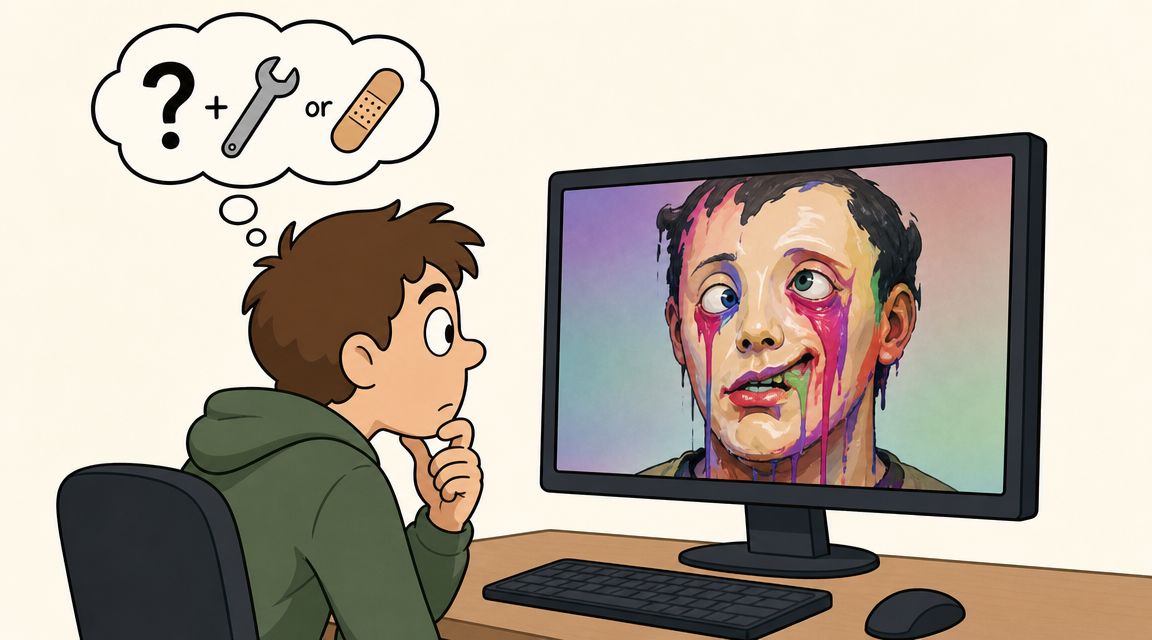
When skin looks plastic or wrong
AI color transfer systems work by mapping colors from a reference image onto corresponding semantic regions such as skin, sky, and objects. That can fail when the reference uses very different lighting geometry or camera color science, so the real benchmark is whether skin stays believable and highlights avoid clipping ( fylm overview of AI color transfer behavior ).
If faces start looking waxy, orange, or oddly smooth in color:
- Lower the grade intensity first: don't rebuild everything yet.
- Reduce saturation selectively if skin is overshooting.
- Choose a better reference frame: neutral light beats dramatic light.
- Check clipping on forehead, cheeks, and nose: faces usually break there first.
When reference-based looks fail
A reference still can look beautiful and still be wrong for your footage. Common mismatch problems include golden-hour reference images applied to flat office lighting, or cinema-camera references pushed onto webcam footage.
Use this quick diagnostic:
ProblemLikely causeFast fix
Color bleed into skin
Reference palette is too warm or too stylized
Switch to a more neutral reference
Weird shadows
Different lighting direction
Correct exposure and balance first
Inconsistent batch results
Clips don't actually share the same baseline
Re-group clips by scene or source
Highlights break fast
Look applied before normalization
Rebuild using correction-first order
Bad AI grades usually come from bad matching, not bad software.
When to stop tweaking
If a clip is still fighting you after a couple of controlled adjustments, stop treating it like the rest of the batch. Flag it as an outlier and fix it separately.
That's normal. AI color grading is at its best when it handles the repetitive middle of the workflow. You still need judgment for edge cases.
If you're already turning long recordings into shorts, Klap gives you the practical starting point by generating social-ready clips from long-form video with vertical reframing and captions. Once the clips are selected, a light AI grading pass can make the whole batch feel consistent, clearer on mobile, and much more deliberate before you publish.